- Simple Number Setup
- Simple Call Flow Setup
- Setup Voicemail
- Create a New Extension
- Edit Phone Buttons
- Create a Conference Bridge
- Create a Fax Extension
- Setup e911
- Ordering Phone Numbers
- Porting Phone Numbers
- Simple Call Flow Menu Setup
- Simple Hours Schedule
- Creating Agents
- Design an Auto-attendant
- Hotdesk
- Test e911
- Create a Routing Extension
- Create Cascading Rings
- Create Cascading Ring to Queue
- Adding a Forward
- Limit 800 Spammers
- Find Call Records
- How To…
Menus & Options
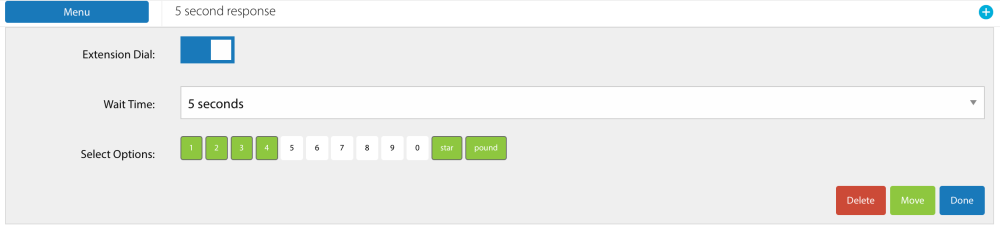
The Menu command listens for caller input and routes the call based on the digits they press. It typically comes after a Text-to-Speech or Play Audio command that provides the menu prompts.
When you add a menu for the first time, all options are expanded by default. Click the Menu button to open its settings, then disable any unused options by clicking the green boxes to turn them white.
Here’s what the edit panel looks like:
Once the menu structure is in place, you can configure each option by adding commands beneath it. Here’s an example:

In this example, option 1 has been configured with a two-phase ring for the sales team. It first rings a smaller sales group, and if no one answers, it then rings a larger group. We also updated the section title by enabling the ‘Press 1’ option.